

I've wanted to make a Roubo bench for some time now, which has allowed me the opportunity to give it plenty of thought. The first thing which would intimidate most people (including me!) from building one is the joinery for the legs, more like timber framing than cabinet making! The other issue is finding and then coping with a single board 5" thick by 20" wide by 5' long. Every other work bench has a top laminated from a number of boards and it struck me that with a bit of thought this could be a way of coping with the sheer mass of the top as well as simplifying the joinery. It would also provide a top which was dry, requiring a lot less attention over the coming years.
By using three sections of timber planed to 28 mm thick for both the legs and the corresponding area on the top the joints could be built up as you go. Above are the parts for the four legs and below are the components for the top, that was 4 hours work.
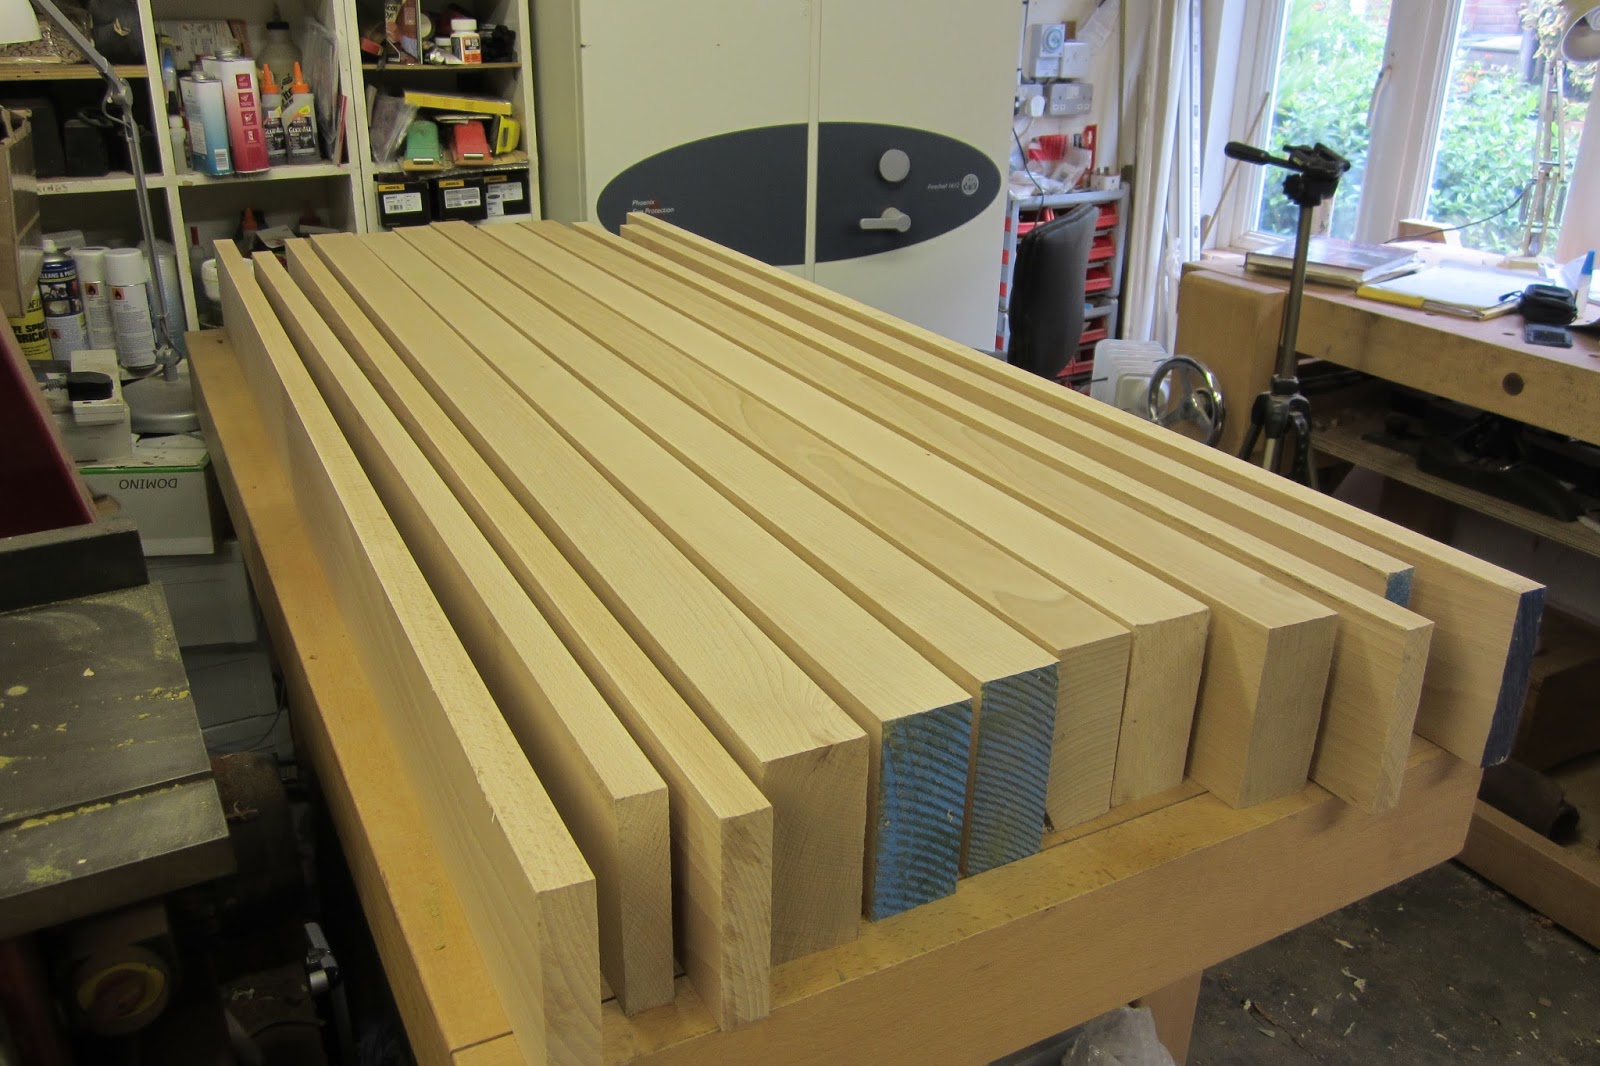
It also filled nearly three 200L drums of waste.

The next thing was to look at the through tenon. Roubo advised that any gaps in the joint were wedged for a nice tight fit and this is almost inevitable in such a large joint. Again this made me think, if you are going to wedge the joint, why not plan it that way in the first place. A wedged tenon would be a lot easier to assemble as the joint is only filled after the wedges have been hammered home, it would also be stronger if properly assembled.

Above is my layout and below are the band sawn cuts on the right and the finished tenon on the left. The shoulders add extra support and the wedges will bring the tenon back in line with the dovetailed tenon at the front in keeping with the original. The angles cuts make sure that the tenon bends nicely into position and was a technique I learned at the Barnsley Workshop http://www.barnsley-furniture.co.uk/superbasket/

Next was the dovetailed tenon which was cut on the table saw and finished off with a hand saw and chisels.

Assembly of the three parts of the leg was aided with the use of the excellent Domino machine to keep things in line.

Detail of the finished leg.

Next I cut the angles for the flared mortice, as well as the wedges, using the same 8 degree setting on the bevel gauge.

The purpose made wedge maker ensured that all the wedges were at the correct angle and exactly the same size, see below.

The wedges were dry fitted to check the angle against the mortice for a perfect fit, this took a couple of goes to get right.

Here's a picture of the wedged tenon with the mortice above. When this is assembled it will be for good!

Gluing on the side cheeks of the mortice, you can never have too many clamps!

Looks like a lot of work but I am sure it's going to look great when finished. Is this going to replace one of your other benches or is it going to be an extra one?
ReplyDeleteWent down to the celebration of craftsmanship & design yesterday some great things on show and nice to see your items in person love the wall cabinet, thinking of having a go at making one myself .
Dave
Hi Dave, it shouldn't take too long to complete. I'm not sure what I'm going to do with the benches, I haven't got enough room for three in the workshop.
DeleteFive of the seven items I had in the show sold although not the wall cabinet. If you wait until the October issue of F&C there will be an article on the making of this cabinet.
All the best, David.
If the shipping wouldn't be a deal breaker I'd have one of your original benches in a flash.
Delete-patrick
Looking good so far mate and some clever thinking. Don't suppose you were filming any of this ?
ReplyDelete-patrick
Hi Patrick,
DeleteIt did cross my mind but I need to do the You Tube filming all in one day to make it cost effective, those camera men are expensive!! All the best, David.
Perhaps you might look into filming things yourself or have the missus/kids hold the camera? There are a lot of people who do videos that way and I'd rather see a video from you with some shaky camera work than nothing.
Delete-patrick
I've set my stall out to do the filming properly and the sales of tools have gone through the roof in the last year. I'm going to stick to the plan!
DeleteAll the best David.
That's some serious Bessey-ness on that clamp-up!!
ReplyDeleteRich
Yeah, I should be on commission!
DeleteThis would make a great article for F&C.
ReplyDeleteHi Mark, I thought just the same today, it should be published in about 6 months time. All the best, David.
DeleteThis comment has been removed by the author.
ReplyDeleteI've followed a number of roubo bench builds as I'd like to someday make one myself. This is the first one I've seen with laminated legs. It certainly makes shaping the tenons easier. I like this idea.
ReplyDeleteLooking forward to seeing the finished bench, David.
ReplyDeleteHi Jameel, so am I that top is heavy!
Delete