

My wife wanted an extra table to nest under one I made a few years ago. It was very simple, made from one piece of nice quarter sawn oak and mitred at the corners. I used Dominoes to strengthen the mitres and I checked to make sure they didn't go too far. The trouble was I was a bit enthusiastic with hammering them home and end up with one breaking out the other side.
It was too big to just fill so I decided to use a patch. I band sawed a 4 mm thick slice from an off cut and used a diamond shape which blends in much better than a circle or square.

Having cut the diamond I created a slight bevel on the underside with a block plane on the shooting board. Two thickness's of masking tape provided the angle.

The underside of the patch was knifed and the waste removed with my trusty Makita laminate trimmer, a very useful tool.

This can be used very delicately to get surprisingly close to the knife lines.

Cleaned up with a sharp chisel, ready for gluing in. The taper on the patch should leave tight seamless edges, in theory!

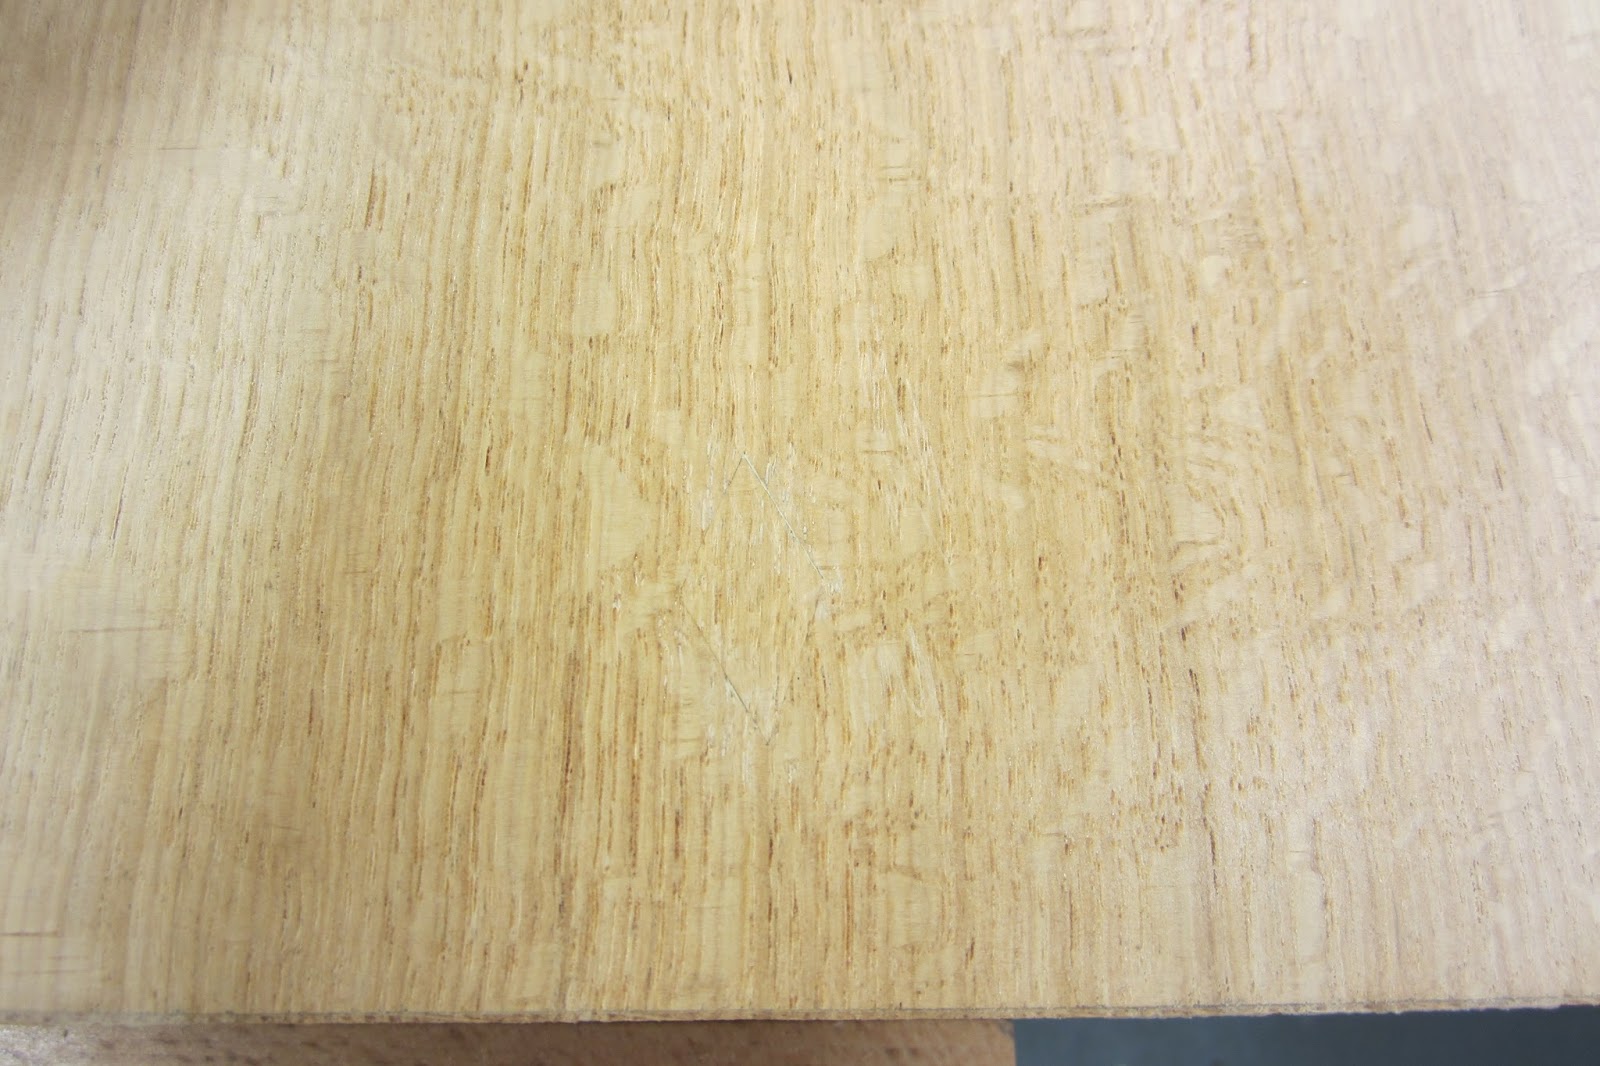
Flushing off the patch with a high angle smoother.

A nice clean finish which my wife hopefully won't notice!
Crikey !!! Where is the repair mark ??? I'm going to bookmark this page for when I need it. Cheers, Simon.
ReplyDeleteWhat kind of finish were you using on your planes david?
ReplyDeleteThe plane above was the second plane I ever made, many years ago! The finish on this was shellac. The finish I used more recently was two coats of hand rubbed melamine laquer, cut back with 600 grit Abranet sponge to give a durable matt sheen.
DeleteWell done!
ReplyDeleteThis comment has been removed by a blog administrator.
ReplyDeleteThis comment has been removed by a blog administrator.
ReplyDelete