Monday, 23 September 2013

European Woodworking Show, The Best One Yet!!


The 2013 show is over and it's been the busiest and best one yet. Set in two magnificent ancient barns as well as smaller buildings and a number of large marquees, it specialises in wood working hand tools with a great mixture of demonstrators and small scale tool makers and a handful of the larger manufacturers.

Needless to say the two photos were taken before the show began, you can see below what happened when the doors were opened!


Andy Ryalls and his brother gave up their weekend to educate visitors on the mysteries of Japanese planes and tools. like many stands at the show they were constantly busy.
Andy makes these long uninterrupted shavings look easy. He let me have a go and even after some instruction on stance, holding the plane and walking down the board, I still couldn't pull a complete shaving.

Andy belongs to the Japanese Tool Study Group more details here http://www.hsow.co.uk/japanese-tool-study-group/


Here's Vic Tesolin from Veritas having a go with one of my wooden planes. He's a cheery bloke, full of life and great at shows.


Here's camera shy plane maker Phil Edwards. His planes are superbly made and he has a 6 month waiting list http://www.phillyplanes.co.uk/


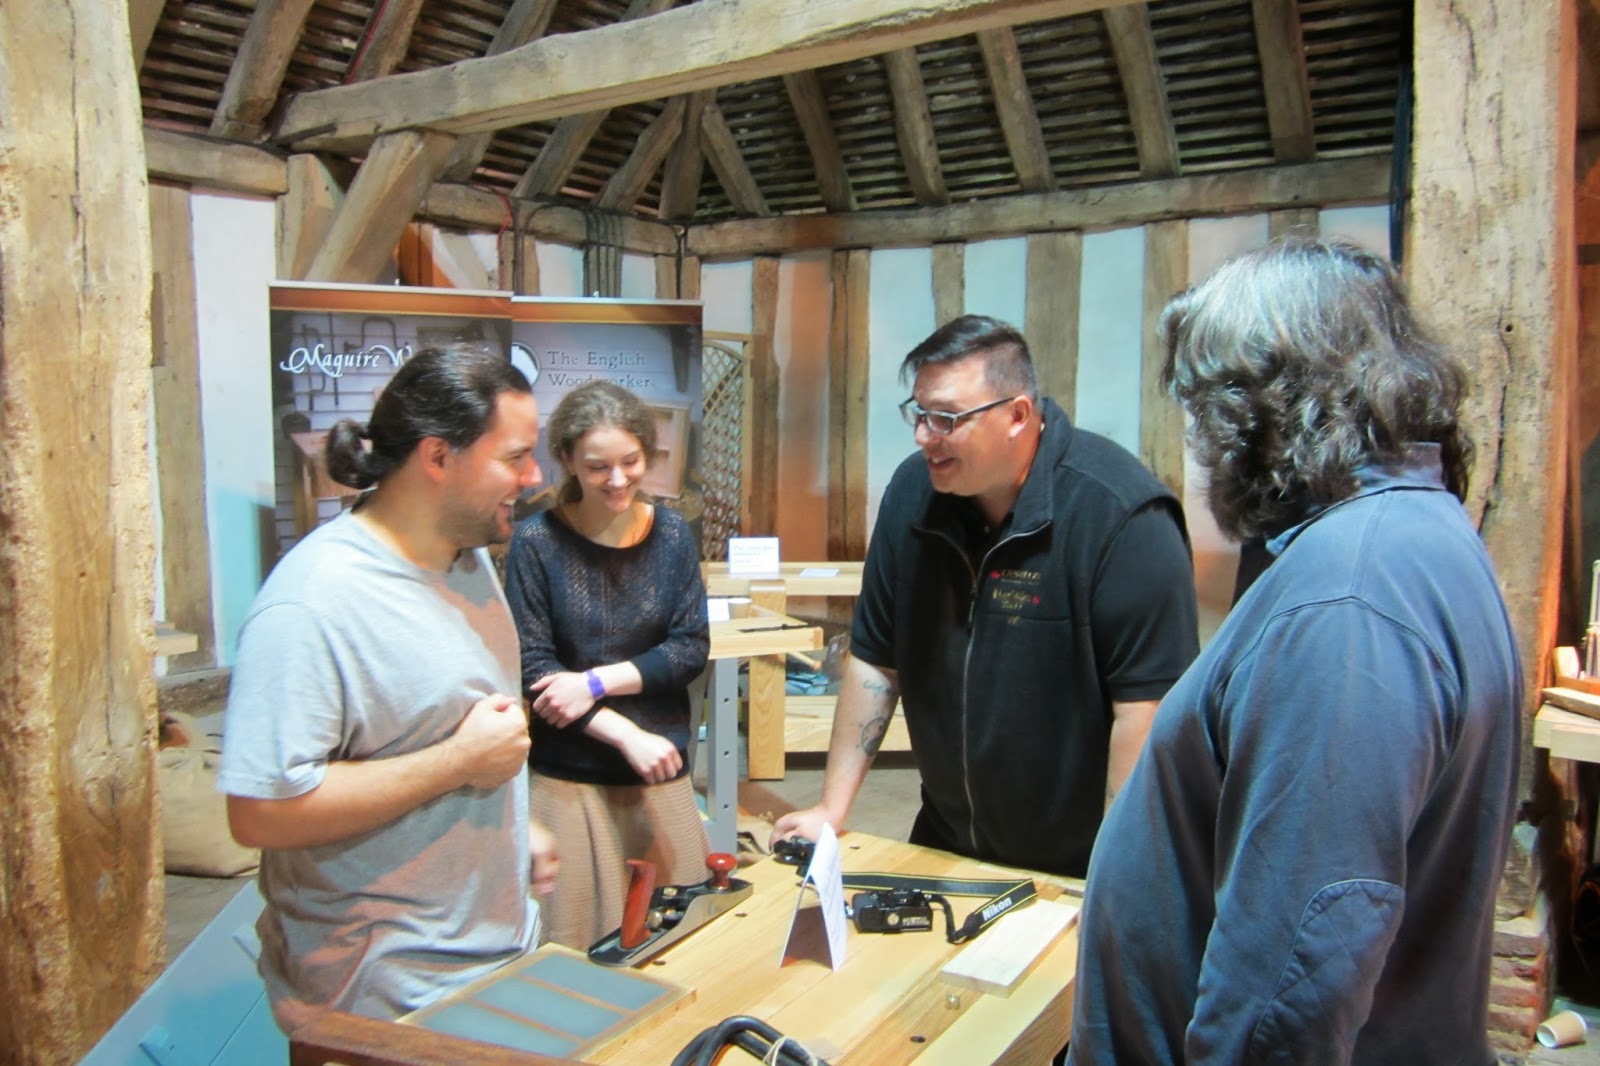
I was next to bench maker Richard McGuire who had a selection of his fine Little John work benches on display http://www.rm-workbenches.co.uk/ . Like Phil Edwards, Richard (and Helen) are struggling to keep up with demand. Richard enjoys a good chin wag and there were no shortage of visitors to their stand, here David Charlesworth and Vic Tesolin were debating the merits of various bench designs.

Marionette maker Lenka does some fantastic work, with a style and a charm of her own. She had a large display but it best to take a look at her website http://www.praguemarionette.com/


The Veritas shooting plane does a great job and was very easy and comfortable to use. It takes a more modern approach to styling the Lie Nielsen and looked good for it.


I always like to see work brought to the shows by wood workers, here's a nice infill shoulder plane in Padouk and brass.

The same maker also did these very comfortable cutting gauges from hornbean, one bevel in, one bevel out.

The last piece was a hexagonal box with angled dovetails on all corners. No wonder he was proud of this, I'm not sure I would like to attempt one of these!


So that's it the shows over for another year. Most people stayed around all day and some were there for both days. It was good to see a lot of overseas visitors, it is truly a European show.

Wednesday, 18 September 2013

Miniature Antique Tool Chest.


I bought this little tool chest recently, I've seen hundreds of them over the years but never one this small. It's in very good condition with the original working lock and key. It cost more than I wanted to pay but I knew I would have regretted not buying it.


To give a sense of scale here is a No 7 plane. The chest measures 17 1/4" wide x 12" deep x 12" tall.
The carcass is dovetailed in pine and painted as normal and the interior is in mahogany.


The decoration is simple inlays of box wood and ebony.


In the bottom is a sliding lid which gives access to an open base.


There are six drawers on each side complete with all the original handles.


All the drawers have lapped dovetails on the front and through dovetails at the rear.


The back of each drawer is numbered very carefully in pencil on the back, which is a nice touch which leads me to think this was an apprentice piece. If you also look carefully at drawer number 3 you can see the dovetails have been cut the wrong way round, not a mistake an experienced craftsman would make.
This is lovely little chest and I'm tempted to make a version, when time allows!


Monday, 16 September 2013

90 Degree Magnetic Guides in stock!


Complementing my new range of dovetail guides I now have a 90 degree version available, just in time for the European Woodworking show this weekend.
I played around with numerous versions before settling on this design. It would have been easy to have gone for a version similar to the dovetail guides with one magnet each side, but this design increases the cross cut capacity with it's twin magnets, whilst keeping it handy enough for smaller scale work.
There are magnets on both sides making it suitable for both push and pull saws.
The overall dimensions are 65 mm across x 55 mm high x 40 mm wide. The magnet area is 25 mm deep.

As well as the more obvious uses it can also be used to create some attractive joints.
This guide is a bit more expensive to produce but I'll be keeping the price in line with the other guides at £29 (for now!)

Thursday, 12 September 2013

Roubo Work Bench Finished!


Here's how it measures up.
5' long x 20" wide x 37" high (yes we are taller than in the 18th century!)
Top thickness 5", legs 5" x 3 1/2", vice chop 7" wide x 2 1/2" thick.
Material, 8 cu ft (96 board feet) of German beech, cost £380 (excluding the vice screw).
Weight 105 kg (230 lbs), it felt heavier!
Time to make 50 hours spread over three weeks.
Finish Osmo hardwax oil matt, three coats.
Things I would change? Not much, it looks great and I can't wait to start using it.


Tuesday, 10 September 2013

Yandles Show.


The show was busy over both days without a lull, the predicted rain only briefly appeared.


I don't normally let people have a go at dovetailing and to be fair not many people ask as they end up with an audience which is a bit intimidating. However this young woman was not deterred so I let her have a go.

With a little bit of guidance she demonstrated a good chisel technique, keeping the chisel well under control by choking down on the blade.


The result was a tad loose but very good for a first attempt with the guide, especially with an audience!


This fine (not so young!) man brings something along to show me at each show. This was a very nice mallet made from birch ply, reminiscent of John Makepeace's effective use of plywood.
I remember the first time we met he tried one of my planes, with a frenzy of activity he had shavings flying everywhere. This was a man who earned his living working wood and he certainly knows his way around a hand plane.


This is Tom Keeley, a superb craftsman and a very nice man. He worked for John Makepeace for many years but is now concentrating on teaching. He runs classes at West Dean College as well as from his own workshop and travels to the US each to teach there as well. Tom is energetic and extremely knowledgeable and I would highly recommend his courses wherever they may be.


He also makes some very nice furniture.


This Yandles show was one of the best I've done, next week it's off to the European Woodworking Show in Braintree Essex.

Wednesday, 4 September 2013

Roubo Bench Part 3


As I work on my own and my back is still aching, I figured it would be much easier to assemble it upside-down as the legs are much lighter than the top. All went well but getting the whole thing back on it's feet was a real struggle!


The wedges went in nice and evenly and the hammer note changed when the mortice was filled. I didn't glue the legs as the top needs to be allowed to expand and contract. The tight fitting wedges were also dry fitted.

Oooops!! I made sure the leg set with the vice was correctly positioned but forgot about the other side. The recess for the nut ended up on the inside of the legs. This in itself didn't matter but I still wanted the recess on the outside for a neat finish. With the centre registration for the point of the forstner bit lost this needed some thought.


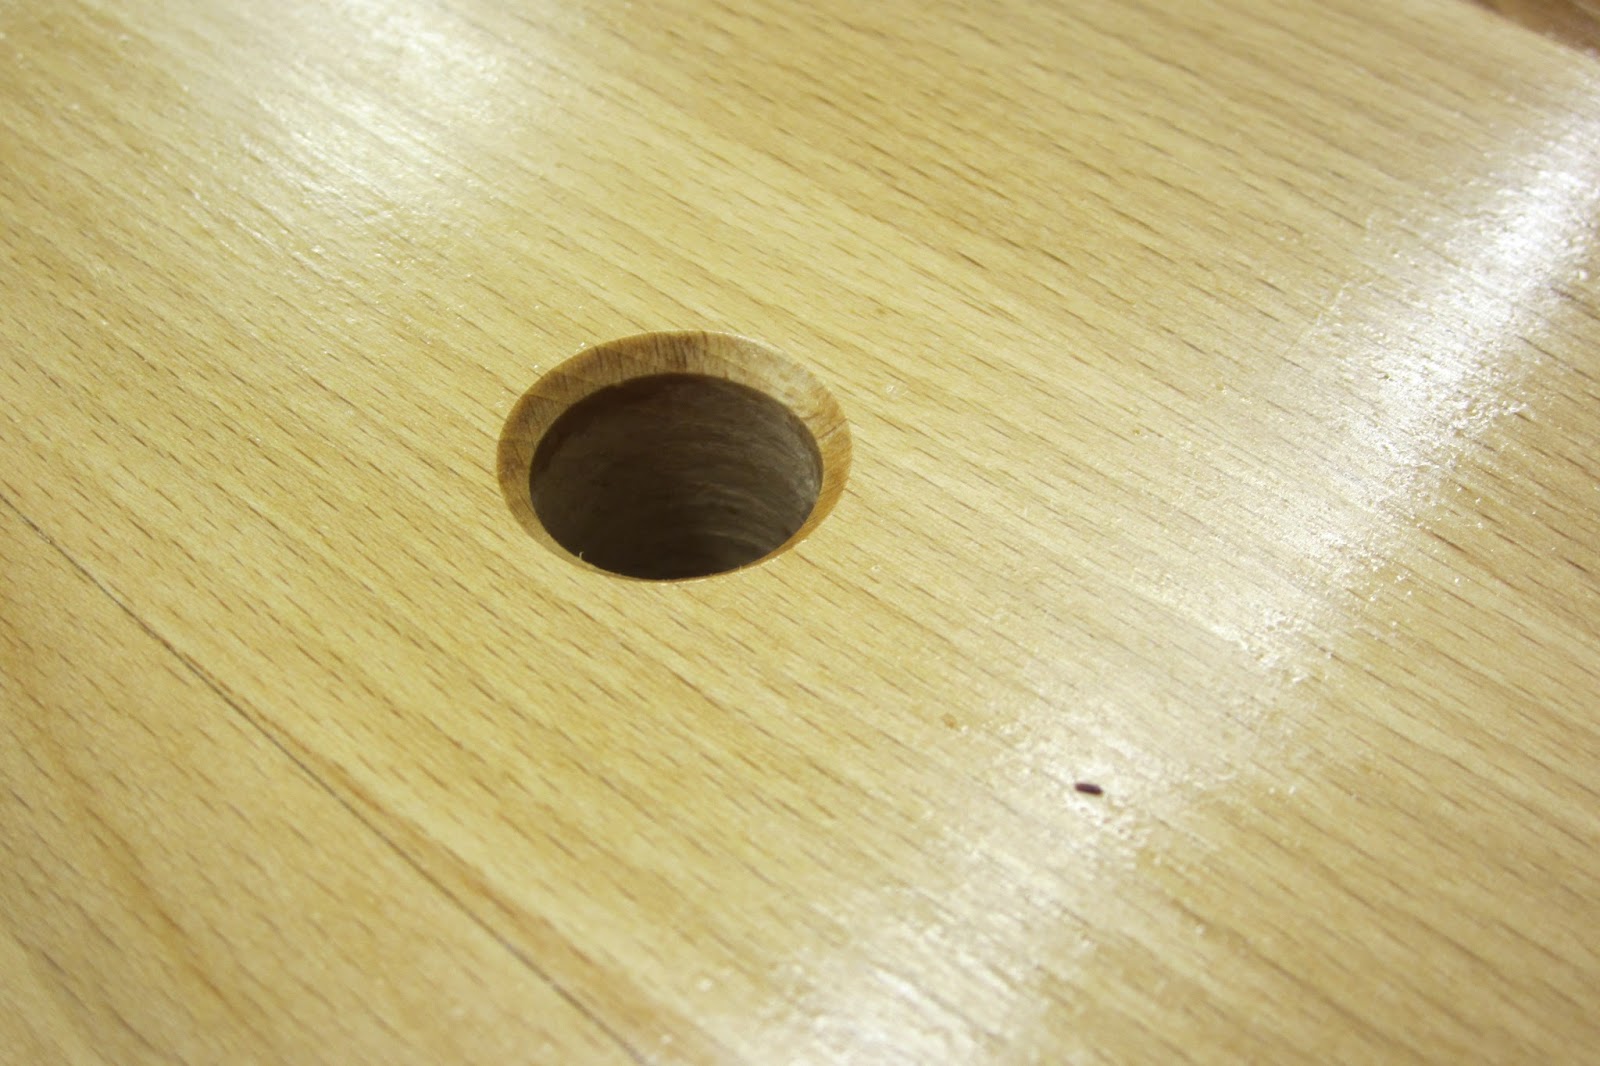
I increased the size of the hole for the threaded rod from 12 mm to 1/2" (12.7 mm) to match my nearest plug cutter. With the plug dry fitted in place I could then mark a new centre hole for the forstner bit.


The recess was drilled and no one would be the wiser. The 12 mm hole was re drilled and the plug had done its job.

With the wedges in place on all four legs they were checked for square and now it was time to complete the 'dovetail' joint on the front. As with the wedges tenon this was made much easier using the lamination process.

The top was now complete and everything was planed flat.


Next was fitting the stretchers which were cut to fit the gap between the legs. These were clamped up in place and then the drill was used to mark the entry hole. With the stretcher removed the hole was completed carefully by hand, that Moxon is a useful vice!


I couldn't resist hitting one of the joints with some oil.
The next post will see the bench completed but for now it's off to Yandles show for a few days.